Keeping Your Tractor Cab Cozy: A Guide to Installing an Auxiliary Heater
Facing freezing temperatures in your tractor cab? Adding an auxiliary heater can transform your winter work experience. This guide provides a step-by-step approach to installing your heater, covering three common installation methods, material recommendations, and crucial safety precautions. We'll equip you with the knowledge to choose the best method for your tractor and skill level, ensuring a warm and comfortable cab all winter long. For even more comfort, consider upgrading your tractor seat; check out these seat upgrade options.
Choosing Your Installation Method: Three Approaches
Three popular methods exist for connecting your auxiliary heater to your tractor's cooling system. Each method offers a balance of ease of installation, performance, and potential risks. Let's explore the pros and cons of each:
Method 1: Tapping into the Lower Radiator Hose
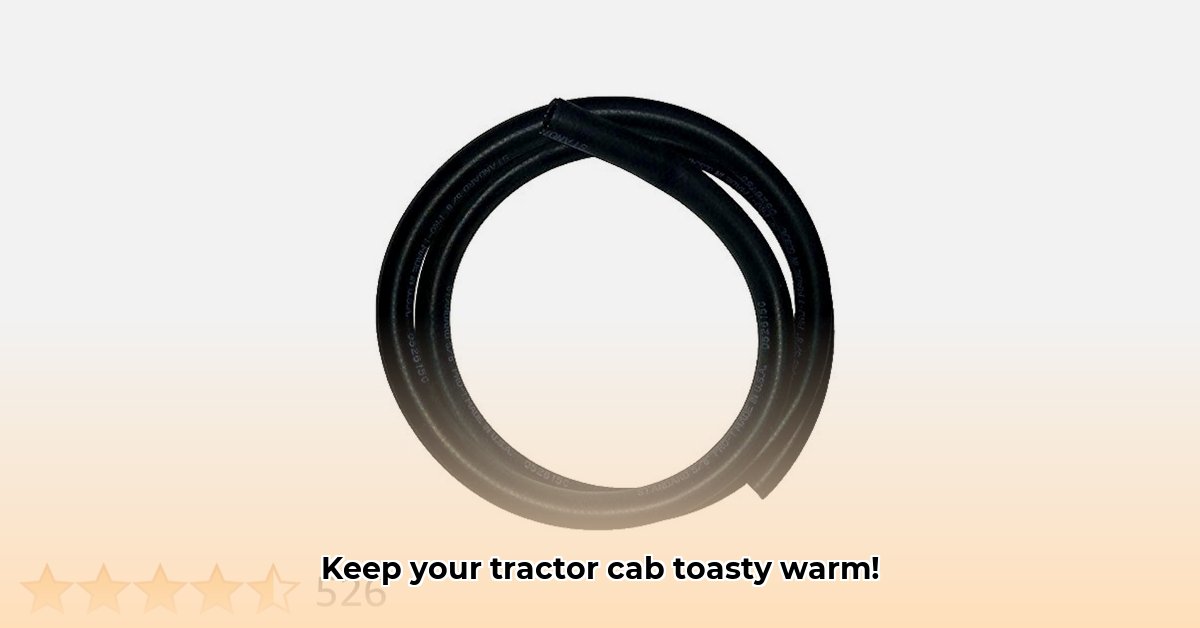
This method is often preferred for its relative simplicity.
Step 1: Assess and Measure. Locate the lower radiator hose (the hose carrying coolant from the radiator to the engine). Carefully measure its inner diameter using a flexible measuring tape. This precise measurement is crucial for selecting the correct hose and fittings.
Step 2: Select Your Fittings. Choose a high-quality brass T-fitting (brass resists vibrations better than plastic). Ensure the T-fitting's inner diameter matches your lower radiator hose's inner diameter.
Step 3: Precise Cutting and Installation. Mark and carefully cut a section of the lower radiator hose where you'll insert the T-fitting. Avoid kinks or bends. Insert one end of the hose into each opening of the T-fitting, using heavy-duty hose clamps to secure each connection. Tighten the clamps firmly but avoid over-tightening.
Step 4: Connect the Heater Hose. Connect one arm of the T-fitting to your auxiliary heater's hose using another hose clamp.
Pros: Relatively easy installation.
Cons: Potential for leaks due to engine vibration over time. Incorrect hose sizing can impact cooling system efficiency.
Method 2: Dual Radiator Hose Tap
This more advanced method offers improved heat distribution and a more robust system.
Step 1: Measure Both Hoses. Measure the inner diameters of both the upper and lower radiator hoses. You'll likely need different sized T-fittings.
Step 2: Select Fittings. Choose high-quality brass T-fittings, one for each hose. Double-check the inner diameter of each fitting to make absolutely certain that it matches your radiator hoses.
Step 3: Connect the T-Fittings. Install the T-fittings into each hose, securing them with heavy-duty hose clamps. Ensure tight, leak-free connections.
Step 4: Connect the Heater. Properly connect the heater hoses to the T-fittings on both the upper and lower hoses, ensuring a continuous loop of coolant flow.
Pros: More even heat distribution, resulting in a consistently warmer cab.
Cons: More complex installation, increasing the chance of leaks, and a potentially slower warmup time.
Method 3: Thermostat Bypass (If Applicable)
This method, if your tractor has a bypass hose, offers the most efficient heat transfer.
Step 1: Locate the Bypass Hose. Identify the bypass hose that runs around the thermostat (often smaller in diameter).
Step 2: Measure the Bypass Hose. Measure the inner diameter to select the correct sized heater hose and fittings.
Step 3: Install and Connect. Use appropriately sized fittings to connect the heater hose to the bypass hose. Secure all connections with clamps. This method is typically the quickest and easiest method to deliver the warmest heat.
Pros: Less disruption to the main cooling system, faster heating response.
Cons: Not all tractors have a bypass hose. Limited flow rate may restrict heat output.
Choosing the Best Method: A Comparison
| Method | Installation Difficulty | Heat Distribution | Leak Risk | Heating Response Speed |
|---|---|---|---|---|
| Lower Radiator Hose Tap | Easy | Moderate | Moderate | Fast |
| Dual Radiator Hose Tap | Moderate | Excellent | Higher | Slower |
| Thermostat Bypass | Easy | Moderate | Low | Very Fast |
Essential Safety Precautions
- Disconnect the Battery: Always disconnect the tractor's negative battery terminal before starting any work to prevent electrical shocks.
- Protective Gear: Wear coolant-resistant gloves and eye protection to prevent chemical burns and injuries. Coolant is corrosive and hazardous.
- Consult your Manual: Refer to your tractor's service manual for specific safety guidelines and procedures.
- Proper Hose Selection: Only use hoses designed for automotive cooling systems and that can withstand the working pressure of your tractor's system.
- Tighten Securely: Ensure all hose clamps are properly tightened. Leaky hoses and poor connections can lead to significant problems.
Troubleshooting Common Issues
Leaking is the most frequent problem. Carefully check all hose connections, fittings, and clamps, ensuring a tight seal. If leaks persist, seek professional help. Also, ensure that your system is properly bled of air. Air pockets can greatly reduce heating efficiency.
Conclusion: A Warmer, More Comfortable Winter Awaits
By following this guide, you can successfully install an auxiliary heater in your tractor cab. Remember to prioritize safety, select the appropriate method for your tractor and expertise, and double-check all connections. A warm and comfortable workspace will make your work much more pleasant, regardless of the outside temperature. Enjoy the improved comfort!